Okay, this was a big build. A new local business called Ultimate- Windows, Doors and More opened up just off Mt. Edward Rd. You should definitely check them out!!! Support local. They contacted me and were looking to have a big, beautiful, maple conference table built for meetings. I said sure, I can do that. So that’s what I did. I built the best table I could. They wanted it shaped like an octagon so it was easy for me to figure out how many people it needed to fit.. 9 right?!
I’m pretty happy with how this table turned out but it was a lot of work. I was getting up before the crows even pissed to get this job done in time. But isn’t it the best feeling when you have to work your hole off to succeed? I like that feeling. But enough of the small stuff. Lets just jump right into this build and I’ll see if I can make you smile along the way.
Hang on.
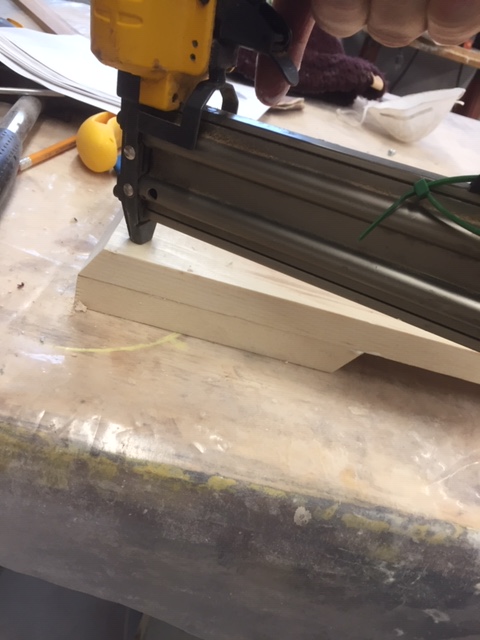
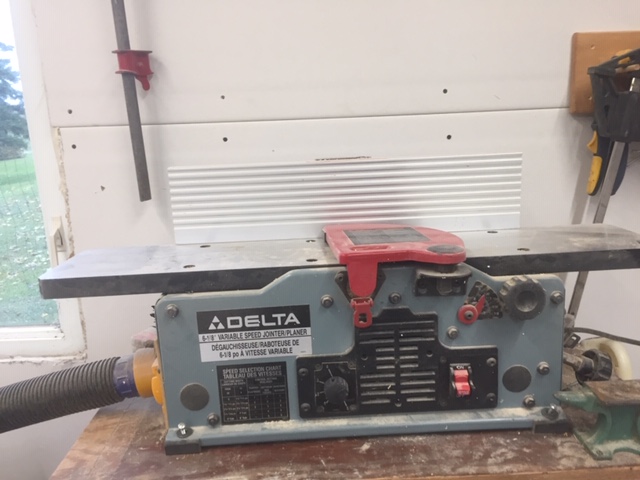
I first started with the feet. They’re the bottom of the base.I first glued two pieces of wood together.I glued a second piece of wood on top of that and cut it at a 45 degree bevel.Once the glue dried I ran it through our wedding gift from my grandfather, Juddy Judson Sr. That’s right. He gave us a joiner for a wedding gift. The Judsons are smart men! Did I ever tell you how good my grandfather is to me?Once I ran it through the joiner, I put some wood filler in to hide any voids. The idea is to make it look like one solid piece of wood.Pretty close, right?! I will be painting these, so I knew what I was doing… kinda.This is what they looked like before.Using our wedding gift.
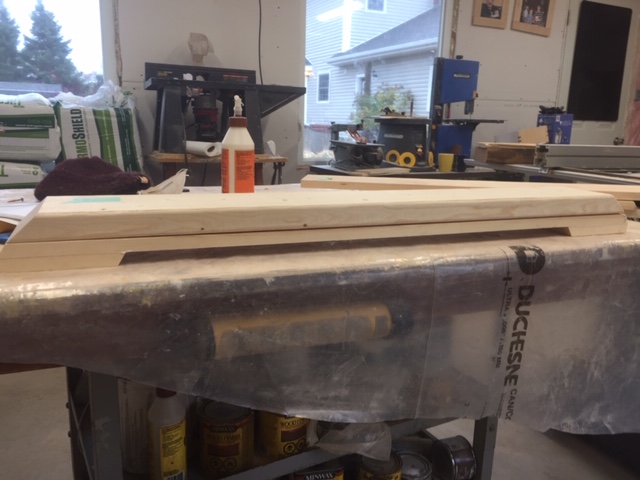
You wouldn’t believe it but none of these clamps are ‘mine’. Half are my dads, half are my grandfathers…Jesus. You would think I knew what I was doing.If you look closely, you can see my shop is not all put together. I did get the bags of insulation up in the attic since this photo was taken, and put the last pieces of dry wall up in the corner. I have 1000 things on the go at any one time. I might have ADHD. Wait, what was I just talking about?The base is actually hollow. It looks like a solid piece of wood though. Fooled ya.
The long legs run in between the two short ones which are screwed and glued in first.I then started milling up the braces for the legs. I’ve been using my table saw more often for these cuts because I find it more accurate. Plus I look great in this picture.All milled up.I glued these bastards together to make a 4×4. You can’t buy 4x4s anywhere.Next, I ran them through the table saw, taking the rounded corners off. I don’t like having my saw blade up this high but I was very careful.Then I ran them all through the thickness planer, making them perfectly square.
I cut them all at 45 degreesTrue story — I was trimming my eye brows and the guard fell off. Went a little too close (this happened the morning of important meetings). I also feel good with a little bit of ruffle on the top lip. Oh, and sorry ladies. I’m married.Next was the hard part. Gluing up the maple table top! Maple is sooooo dense. Fack I hate it and love it at the same time. It’s just so beautiful but so difficult to work with. My wife says the same thing about me, besides the beautiful part. I just laughed at my own joke.I used my biscuit joiner to help align my pieces before glue up. I made that mallet, too!If you look closely, you can see things sticking out of the wood. They are called biscuits. You don’t eat them. Although I have since tried them. Had the munchies….. I’m kidding mom. (I’m not ;))I had to glue up my table top in 3 pieces because ‘my’ clamps aren’t long enough and glue-ups are so stressful. One small mistake and you are facked.
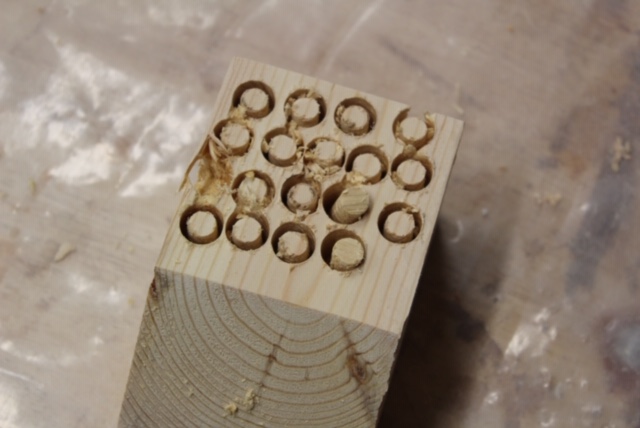
I had to attach clamps to clamps to get the final pieces together. I put heavy things on the top to help keep it from bowing. Too much pressure from one direction causes this.Since this table top is so big I wanted to make sure it was good and solid. I went out and bought two sheets of plywood and screwed it to the bottom to give it that extra rigidity I wanted. It might be over kill but I wanted to be safe.Next, I trimmed the edges. If you put tape where you are going to cut it helps with tear outs.I did my math and figured out how to make an octagon out of a square. It’s 6 feet by 6 feet.I made my marks and closed my eyes andmade my cuts. Holy smokes! It’s an octagon.Back to the base. I pre-drilled some holes,
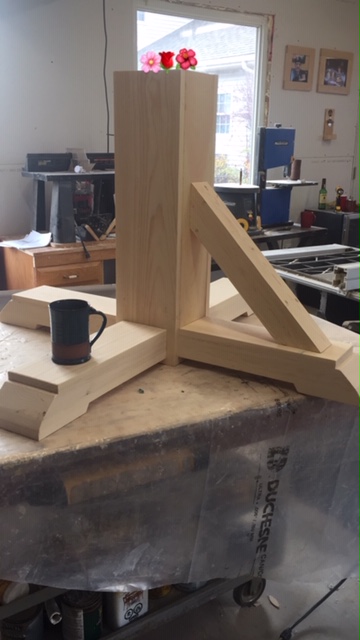
made some plugs,Screwed and glued the braces to the base and plugged the holes.Like so.I went back to the table top and added trim around the top so you wouldn’t see the plywood underneath. The plywood might have been a waste of time and money but it allows me to sleep at night.Next, I needed to build the braces to attach the table top to the base. To start, I made a half-lap joint.You take half the thickness of two pieces of wood so they fit perfectly together.
Perfect.Slowing coming together.I pre-drilled some holes and used bolts to attach this to the base.Looks like a table.
I sanded this bastard like crazy, stained it and put 6 coats of poly on it.
I put two coats of primer on first then 3 coats of paint.
There you have it. I built a table. I am super happy with how it turned out. I put a lot of time and effort into it and I think it was totally worth it. I am starting to see small improvements in my builds as I take on more challenging builds. I use to have quotes all over my bedroom when I was dreaming of the big leagues. One of them said ‘Practice without improvement is meaningless’. I know that’s debatable but I want to be the best I can be. So that’s what I’ll do.


Leave a comment